
When we became Kuaka’s new people, she had a “HydroForce” PVC inflatable with a hard aluminum floor that came apart in pieces. Putting it together went something like this: (#*U$*#U *#$*#&$ *#**@*@&#&(@boots
Clearly the process was neither fit for print or for our future cruising adventures. We quickly sold it to a guy on our dock, who keeps his dinghy on davits, and replaced it with an Achilles hypalon inflatable floor dinghy. Not only did our use of expletives decrease dramatically, but also we realized that it would easily roll up and fit in the cockpit locker! Now that the deck was open I quickly came to the conclusion that I should fill it with another boat.
I’ve lusted for years after Russel Brown and Paul Bieker’s PT 11 design and kits. After a bunch of measurements, I figured that there was no way to fit one on the cabin top. During a trip to Barkley Sound during the fall of 2022, I started sketching:


Now I had a plan and cut the parts out sometime that winter. The boat is exactly 10′ long and takes apart with the bow section nesting inside of the stern section. The hull is very thin Okoume plywood with most of the inside structure out of either thin plywood or foam. The transom is a nice piece of Meranti, but I messed up and had to fair it so I couldn’t leave it bright (whoops).


The boat is stitch and glue – built upright without a strongback or much in the way of forms. I did make some temporary forms just to help with the shape. Since most of the load is around the mast, I added two ring frames for the mast support. After making the panels full length with a puzzle scarf joint, everything was laminated with 3oz S glass on the inside, laid up wet by hand and then vaccum bagged to the panels. Next it was time for stitching! Sophie and I put the boat together in about an hour.

Then it was time for lots of fillets and fiberglass tape. I also made a temporary foredeck and built a fiberglass flange onto the inside of the hull. The foam cored deck would get glued on quite a bit later.

I decided to build most of the interior out of 3/8″ divinycell foam with carbon vaccum bagged on both sides. Some of it had kevlar tracers – I added more 3oz S glass over that so I’d have something to sand.There isn’t much interior – just the foredeck and the aft tanks. The tanks are completely sealed – which I may regret later.


In the meantime, I made some foils. The first ones I made for Skeeter- a 20′ power catamaran, since I wanted to practice on plywood before cutting the foam (I was down to the dregs of the 1 sheet that I bought). They are cut in two pieces, glued together, and then hand laid up with carbon and vaccum bagged. A lot of guesswork went into the shape, size, and laminate schedule. They are a NACA 0012 (I think) for the rudder and Eppler 836 for the dagger board. My rationale was that the fatter profile would help keep the rudder from stalling. The dagger board is probably quite a bit too big.

Cutting the practice boards – these ended up on Skeeter.

Vaccum bagging the two pieces together. After this they were sanded and covered in carbon – I guess I forgot to take pictures though.
I also needed some oars and a mast. From a friend of a friend I got some cheap cosmetic blemish 490cm 2-part windsurfer masts. They were super stiff, so would make a decent boat mast. They were cheap enough that I bought about 10 of them. Once I got my hands on them I realized that Kuaklet needed oars too – so made some blades, covered them in hand laid up S glass, and glued them into the windsurfer tubes. The best part are cedar handles, but I don’t think I have any photos of them. I made a set for the inflatable dinghy too.


Back on the boat front, I laminated carbon on the bottom of the foredeck and carbon + S-glass for durability on the top. It was a lamination disaster that resulted in broken glass all over my shop (I was stupidly doing it on an old glass window coated in release wax). But the deck ended up okay, so I found a bunch of heavy stuff and glued it in.

And then she got flipped over and we sanded the entire outside until it was fair. When I was happy with it we hand laid up 6 oz carbon, 6oz kevlar on the bottom, and 3oz S-glass over it all, put on a vacuum bag, and waited.

After a suitable wait, we pulled off the bag and Sophie surveyed the results. We even took Kuaklet for a row in the grass.

After admiring for a while, I cut the boat in half.


And nested it!

And I tested the daggerboard

Followed by absolutely endless sanding, fairing, sanding, sanding, sanding, and – well – you get the idea. Then paint. I’m not really sure how I settled on “painters tape blue” but it was cheap (discontinued color of interlux perfection) and I sort of like it now. The world needs more color.

At this point I was about a year into the project and maybe $600 in materials (mostly because I used scraps and leftovers). So I decided to shell out for a sweet sail from the good folks at Ballard Sails. I drew up the rig and took them the mast to get the luff curve right. Kuaklet was a bit confused when I rigged up the bow half on a snowy night. I also added raptor deck foam to the entire stern section and most of the bow deck.

I also sewed a cover that holds the two halves together when nested. There was a moment of truth to see if I had actually made her fit between the dorade boxes – and she fit just right! (although not quite as designed). The other bags are the oars and mast / boom. She is strapped down to dyneema loops that circle around the inside of the welded aluminum dorade boxes and sits on some scraps of foam decking non-skid.


While I had a sneaky initial launch on our pond with my dad, it was now time for a real launching.

And one of our favorite tugboats came past – with sort of matching colors:

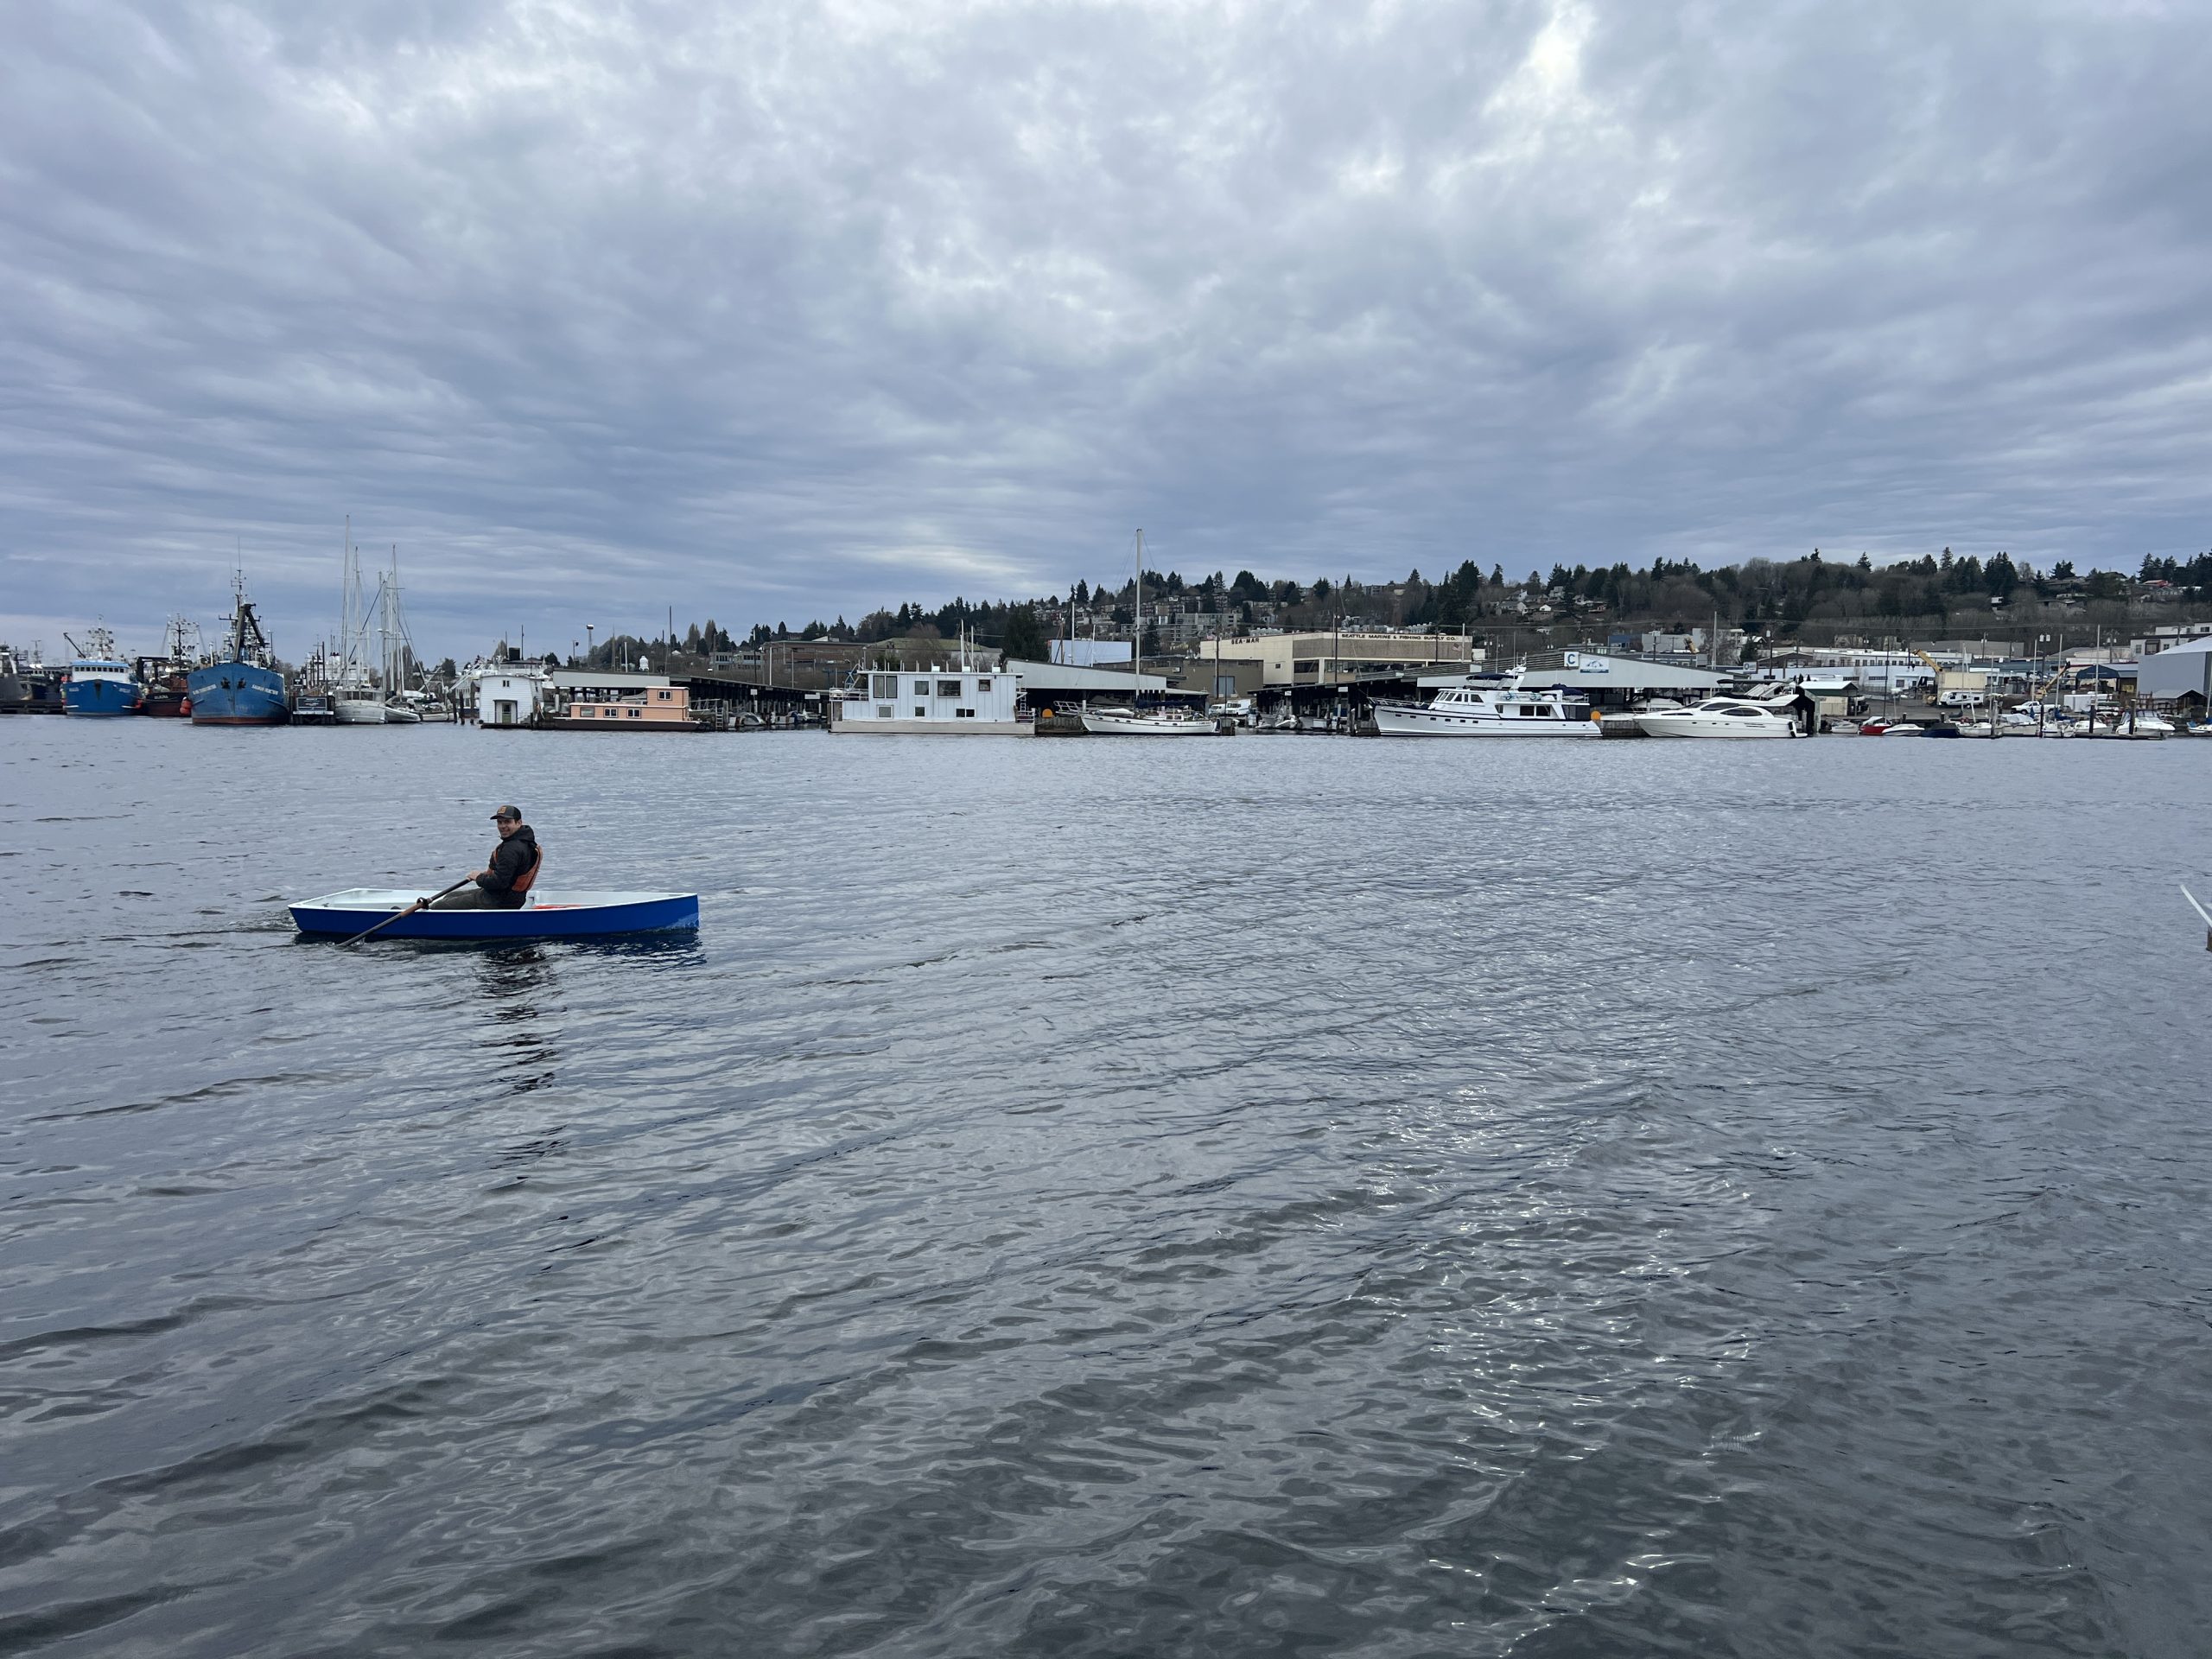
And then our friend Danny came over and I held his baby Sylvie while he went for a sail.

Unfortunately I can’t figure out how to upload the video of her first sail, but you can find it on instagram @sv_kuaka
We’re looking forward to many years of enjoyable dinghy adventuring!